Capture
The menu bar is the whole app.
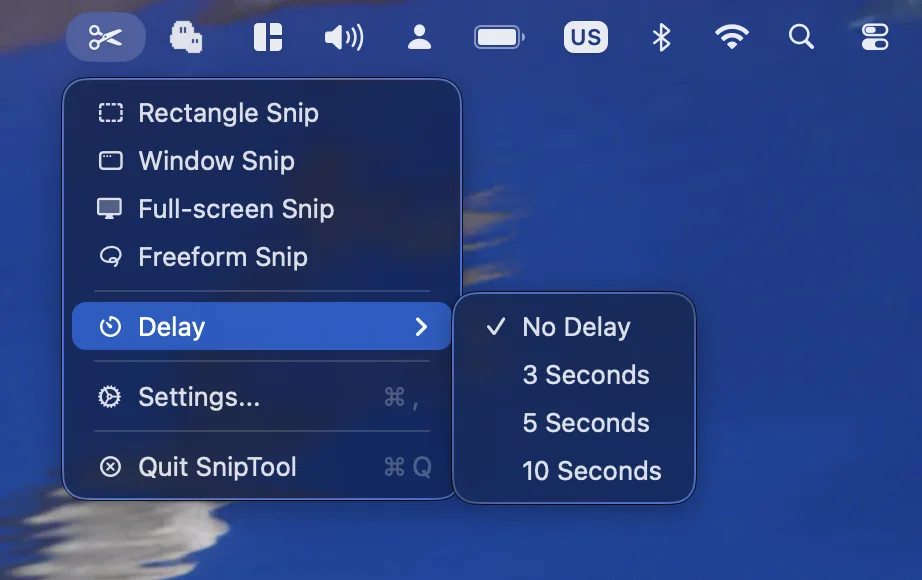
SnipTool lives in the menu bar — no Dock icon, no main window. Click the scissors to pick a capture mode, or use a global shortcut from anywhere.
-
Rectangle Snip ⌘⇧1 Drag a crosshair over any region. The capture fires the moment you release.
-
Window Snip ⌘⇧2 Click any window to capture it with its native shadow — even behind other windows.
-
Full-screen Snip Grab your entire main display in one click.
-
Freeform Snip Draw a lasso around an irregular shape. Everything outside it stays transparent.
-
Delay No delay, 3, 5, or 10 seconds — long enough to open a menu or hover a tooltip first. The active choice stays checked in the menu.
-
Upgrade to Pro… One-time $1.99 purchase. Disappears once you own it.
-
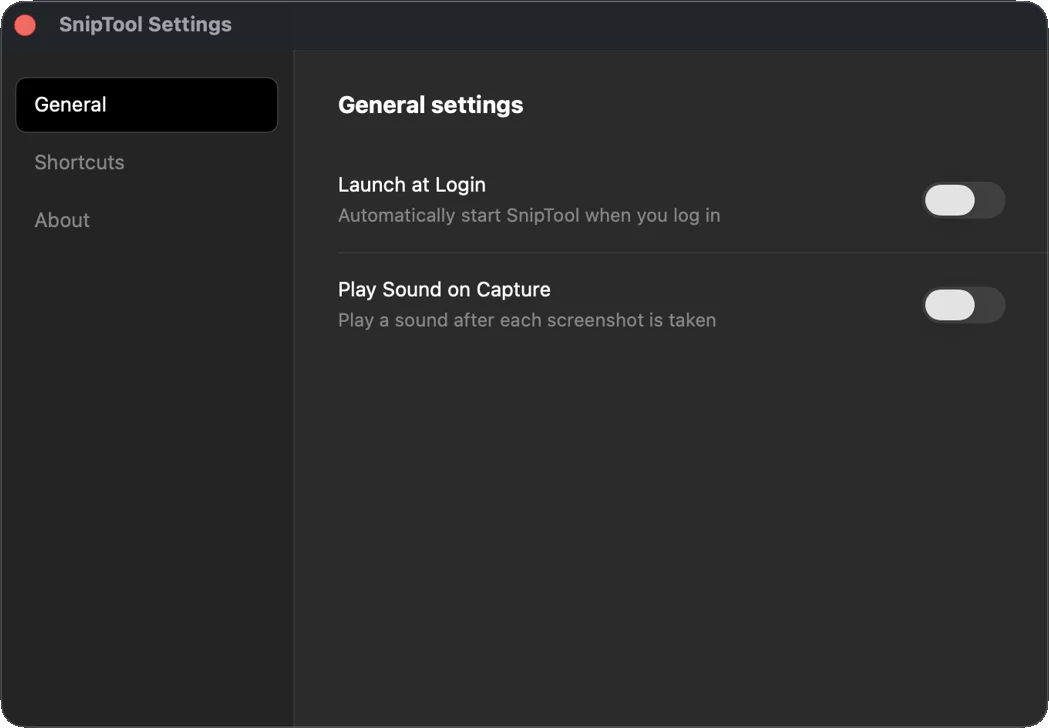
Settings… ⌘, General, Shortcuts, and About.
-
Quit SnipTool ⌘Q